
Pumpkin Carving Masters Share Their Best Tips To Save You Time, Money And Hassle
Plus, the "thinning the gourd" step most folks forget — it makes carving so much easier!

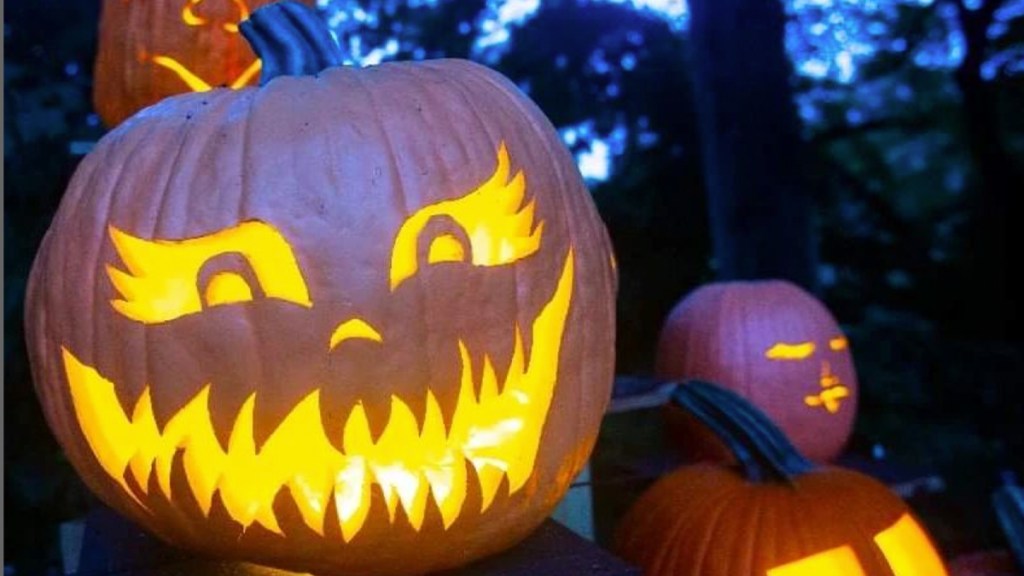
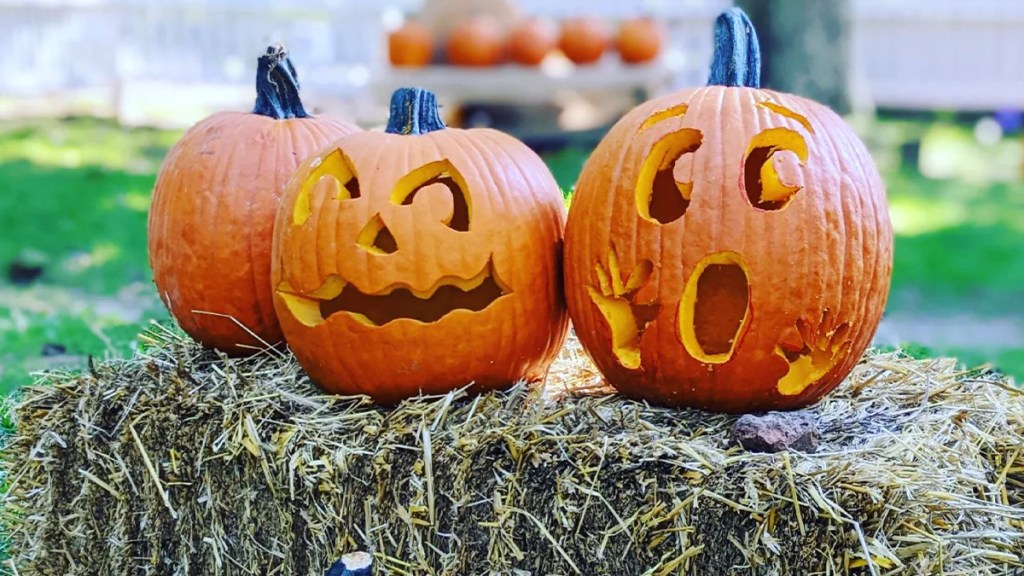
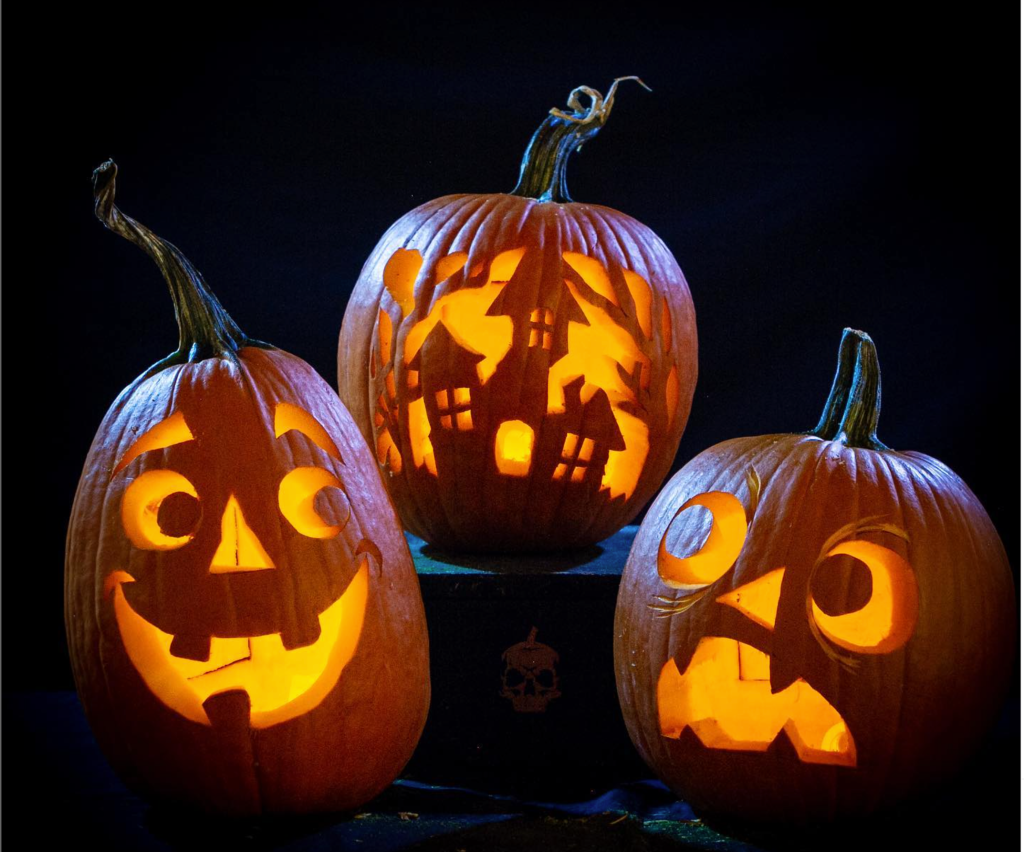
Scare up smiles during the Halloween season by carving a pumpkin! And while you’ve likely carved more than your fair share of pumpkins over the years, there’s always something new to learn! So we tapped three pumpkin-carving experts, who have created some of the most spectacular works of pumpkin art (keep scrolling to see photos of their creations), for their secrets to carving success. Below they share their top tips for creating your best ever pumpkins, from Jack O’ Lantern faces to classic monsters, plus the must-know tricks to help the pumpkin last until Halloween.
Step 1: Choose the right pumpkin
Before you can get to carving, you’ll need to choose your pumpkin. According to the carving pros, picking the right gourd can help set you up for success! The best pumpkin for you depends on a few factors:
Pick a heavier pumpkin to make it last longer
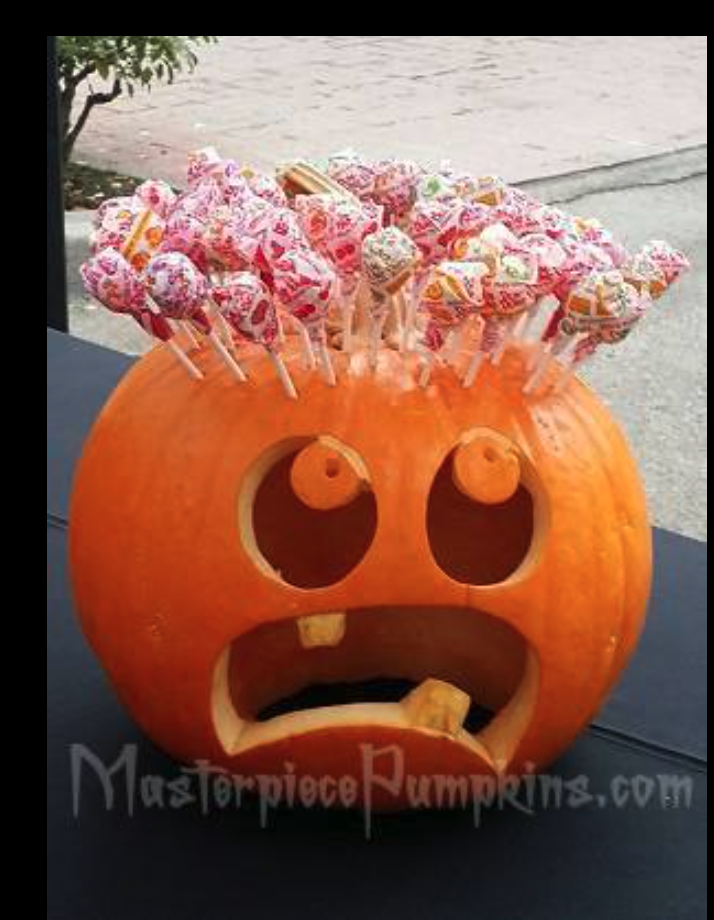
“If you want a pumpkin that lasts longer, choose something a little heavier,” advises Gene Granata of of Masterpiece Pumpkins. Adds DT Pearce, owner and operator of Papa’s Pumpkin Patch in Bismark, ND, “The best carving pumpkins weigh 20 lbs. They’re about as big as a basketball, and that makes a nice size for a larger-than-life-size face.” “But if you want something easy to carve, choose one that has smooth skin and is relatively lightweight.”
Having a design in mind can help you choose your pumpkin, as well. Granata suggests looking for a taller one if you plan on creating a portrait or Jack O’Lantern face, or a large round gourd for a landscape.
Try a white pumpkin
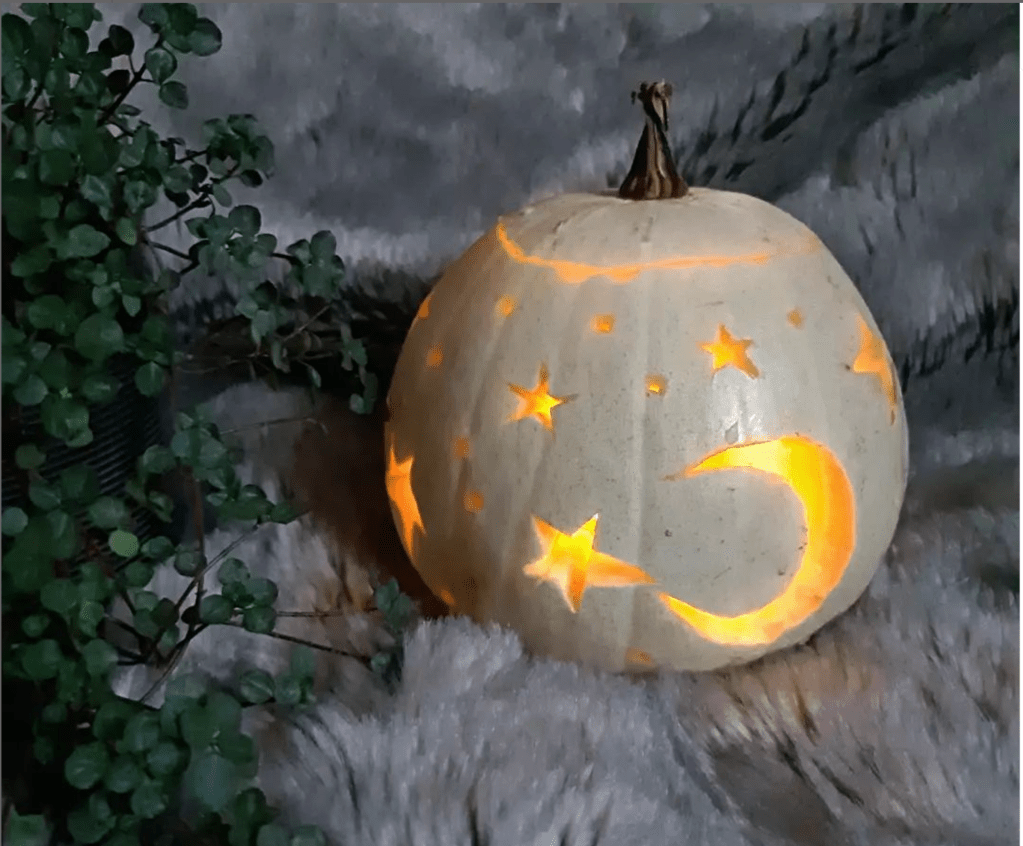
For something a bit more different, consider a white pumpkin! “They carve really nicely, and the inside is the standard orange pumpkin color, so they look really cool,” says Tonya Buehler, owner of Granny Mae’s Pumpkin Patch in Dorrance, KS.
You’ll also want to consider the stem. Choose a pumpkin with a stem that’s sturdy, thick and slightly green. “That means the pumpkin was recently cut from the vine — that’s a really good indication it is going to be a nice, fresh pumpkin to work with,” says Marc Evan, co-founder of Maniac Pumpkin Carvers. And it will last longer, too! Tip: Just don’t pick your pumpkin up by the stem, warns Buehler. Doing so increases the likelihood of the stem breaking, and it can create cracks in the stem that allow bacteria to seep in, causing the pumpkin to rot sooner.
Step 2: Use the right tools
If you’re looking to think outside the box for making Jack O’Lantern faces and other designs, you can get creative with tools to turn your pumpkin into a work of art.
“There are a lot of items you might have in your kitchen or toolbox that can be fun to carve with,” shares Evan. Try using a melon baller, lemon zester, chisel or drill bit to create cool 3D effects on the pumpkin’s surface!
Also smart? Once you open up the pumpkin, whisk the innards with an electric whisk. The whisk breaks up most of the stringy insides and detaches them from the pumpkin walls, making it a lot easier to scoop out.
Prefer to stick something more traditional? The store-bought carving kits that generally include a couple of tools and sometimes templates can still get the job done – and done well! “In the more than two decades I’ve been carving pumpkins professionally, I use those same kind of tools everybody else uses,” adds Granata.
Want to preserve the seeds? Toss the pumpkin “guts” into a large bowl of water. The moisture will help separate the stringy stuff from the seeds, allowing you to roast up the perfect Halloween snack.
Step 3: Start carving at the bottom
Most of us start by cutting the stem off the pumpkin, but that common strategy isn’t not the best strategy — especially if you want yours to last through the Halloween season. The secret to keeping your jack intact? “Cut a hole in the bottom of the pumpkin instead of the top,” reveals Michael Natiello, who oversees the carving of 10,000 gourds a year as creative director for The Great Jack O’ Lantern Blaze in Sleepy Hollow, New York. Pumpkins cut from the top tend to cave in on themselves, but cutting a hole in the base (and discarding it) keeps the gourd’s walls stable.
Step 4: Thin the gourd
Use an ice cream scoop to remove the seeds from your pumpkin, then cut an old credit card into a half-moon shape and use the rounded edge to scrape the inside of the gourd. (Don’t toss those seeds, though! Click through to learn about the health benefits of pumpkin seeds) The secret to stress-free carving: Scrape the inside of your pumpkin where you plan to cut until it’s very thin. “Carving saws are only 2 to 3 inches long,” says Granata. “That means that your rind needs to be thinned down to about 1 inch for the tools to really be effective.”
Step 5. Easily create detailed designs

Creating your own Jack O’Lantern from scratch can be fun, but you may prefer to create a more detailed design. That’s when stencils or templates come in handy! (Click through for 7 Jack-O-Lantern Stencils That Will Make Carving Your Pumpkin Eerily Easy.) Unfortunately, the sheets of paper can often make things more frustrating when they move around during carving.
Luckily, there are two ways to make things easier. One option: Tape sewing transfer paper (Buy on Amazon, $17.49 per roll) between your pattern and the pumpkin. Then draw over the entire stencil/template with a pen or marker and pull off both sheets. “There’s your whole pattern right on the pumpkin, ready to go, with no paper involved,” says Granata.
Another solution is to enlist the help of bulletin board straight pins that are roughly ¾” long, he adds. Place pins on all the areas of the template you’re going to cut out. “That is what’s going to keep everything in place while I’m carving,” adds Granata.
Or grab a few cookie cutters, advises carving champion Jen McDonald (GardenGirlsTX.com). “Just use a hammer to gently tap the cutter through the rind for a perfect shape every time — there are so many fun designs you can make easily.”
How to ensure your jack o lantern faces last
If you’ve made your Jack O’ Lantern in advance for a special event like a party or parade, Granata recommends covering it in Saran wrap or a plastic bag and storing it in the fridge or another cool place. “The best cool place is going to be in a refrigerated environment,” he says.
But if you want to keep your carved pumpkin out to display, just rub a dab of petroleum jelly on cut areas. This creates a seal on the exposed flesh, warding off rot. (Note: You can also use lemon juice to achieve the same result — and this will also keep neighborhood critters away!)
The best way to light pumpkins
Although you may normally opt for a candle to light up your pumpkin, the pros actually say this can shorten the life of your pumpkin. Why? Heating the pumpkin from the inside dries it out, depriving it of the moisture it needs to thrive.
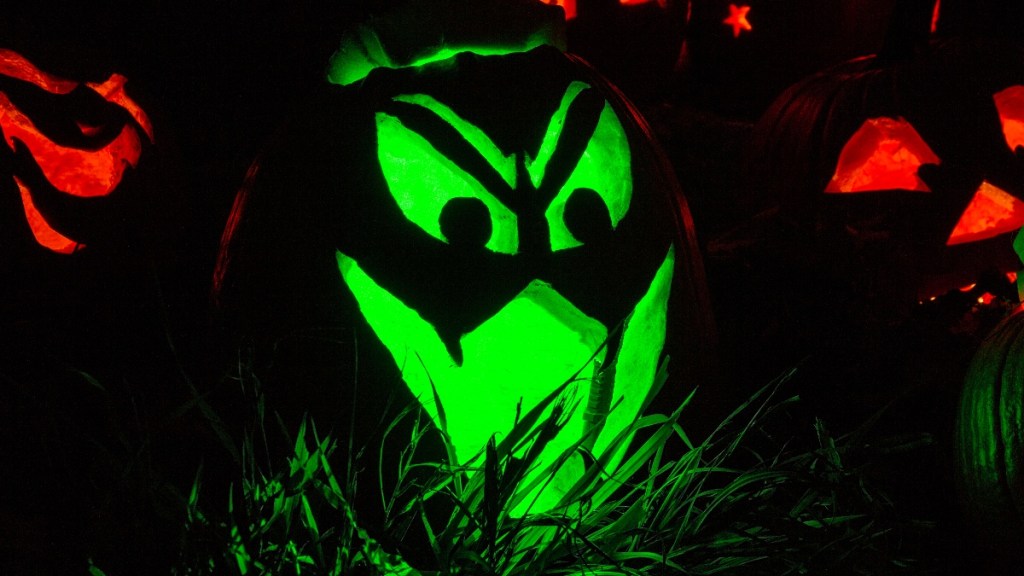
Instead, go with battery operated candles or tea lights! “They’ve got special pumpkin lights that turn colors and do all kinds of cool things so you can you can style your lighting to your pumpkin,” shares Granata. “A good example is Frankenstein with a green light and Dracula with a red light.”
Your Jack O’ Lantern will look fantastic and last longer!
A version of this article originally appeared in our print magazine, Woman’s World.

For more Halloween fun and decorating ideas, keep reading!
Halloween Movie Night Ideas: Party Pro Shares Festive Sips, Snacks and Flicks
From Spooky Cute to Classic: 10 Easy Halloween Door Decorating Ideas That Wow


