The Perfect Server - Ubuntu Intrepid Ibex (Ubuntu 8.10) - Page 2
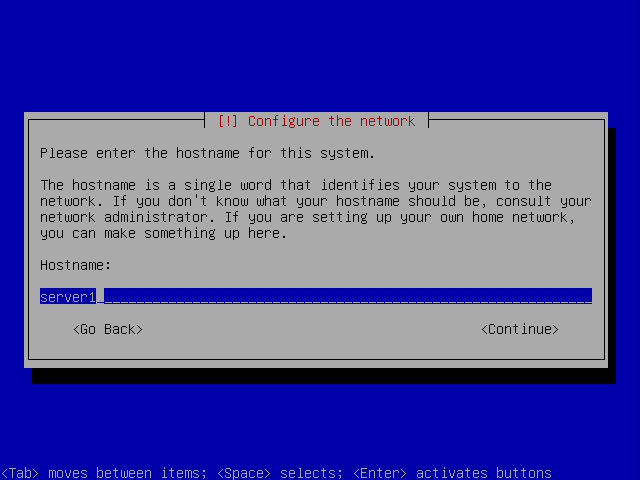
Enter the hostname. In this example, my system is called server1.example.com, so I enter server1:
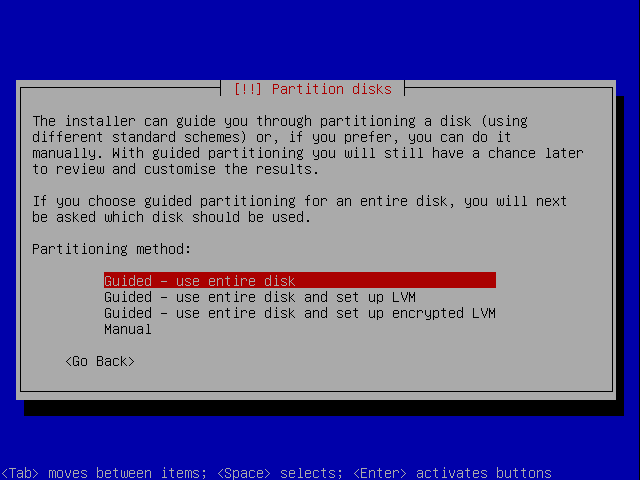
Now you have to partition your hard disk. For simplicity's sake I will create one big partition (with the mount point /) and a little swap partition so I select Guided - use entire disk (of course, the partitioning is totally up to you - if you like, you can create more than just one big partition, and you can also use LVM):
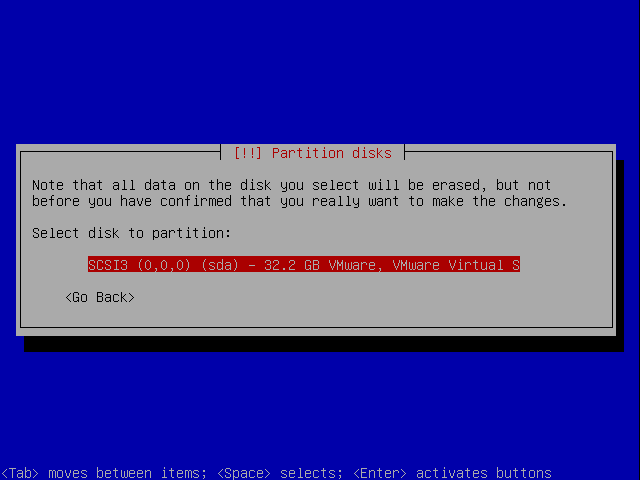
Select the disk that you want to partition:
When you're finished, hit Yes when you're asked Write the changes to disks?:
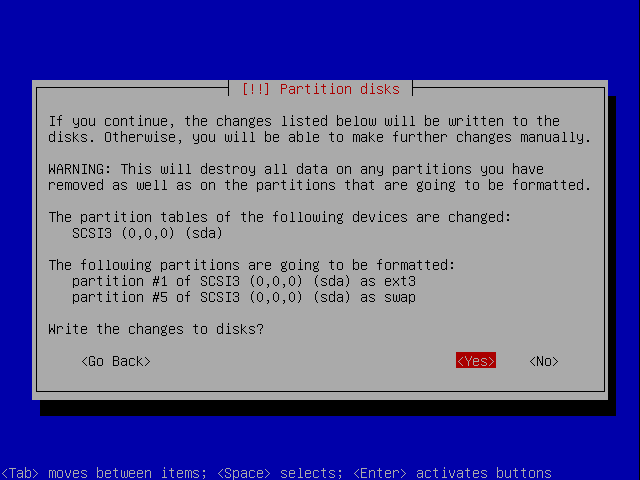
Afterwards, your new partitions are being created and formatted.
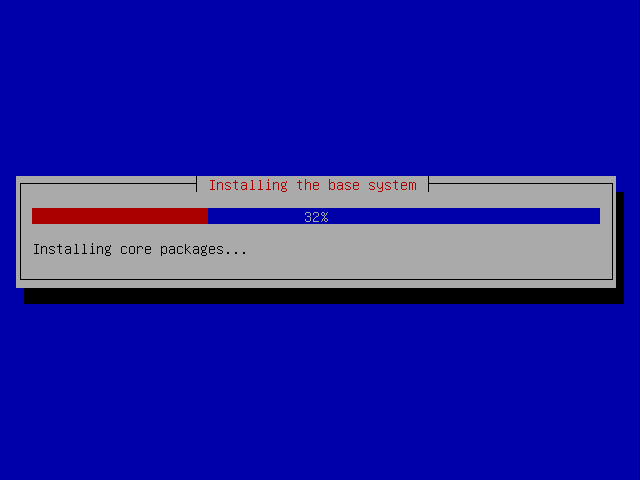
Now the base system is being installed:
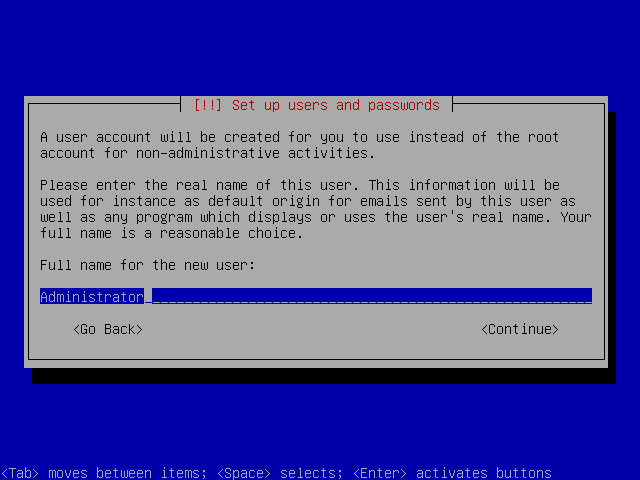
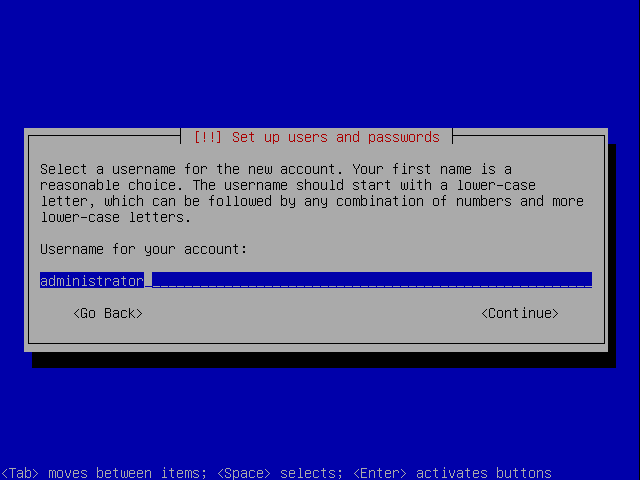
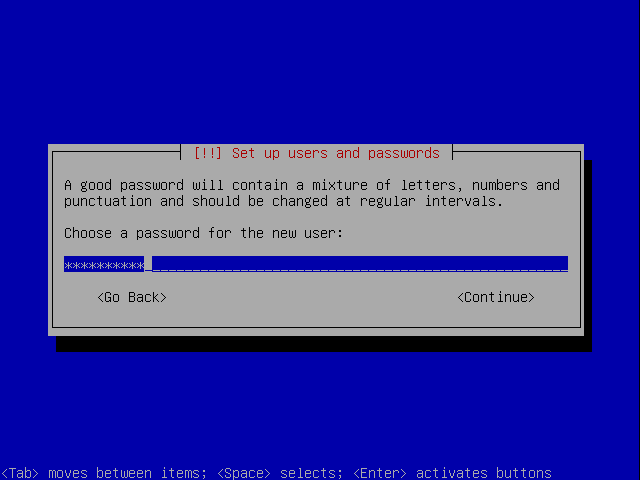
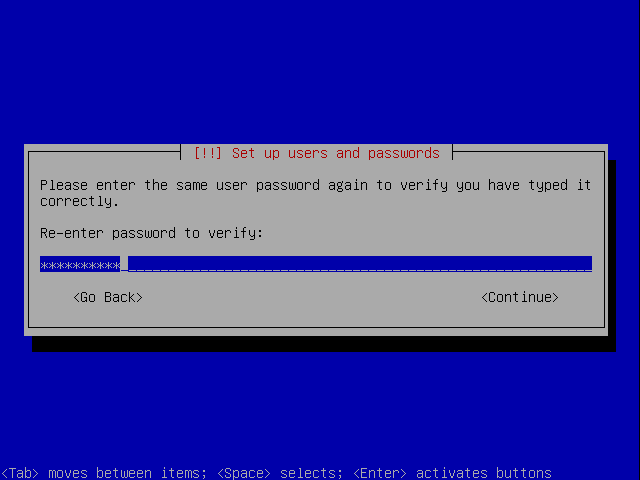
Create a user, for example the user Administrator with the user name administrator (don't use the user name admin as it is a reserved name on Ubuntu 8.10):
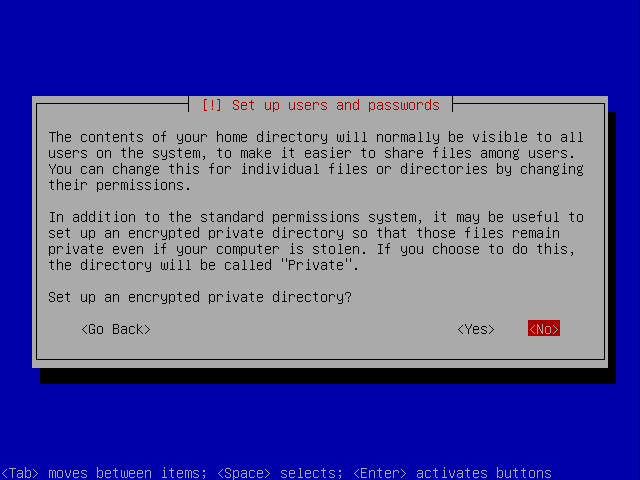
I don't need an encrypted private directory, so I choose No here:
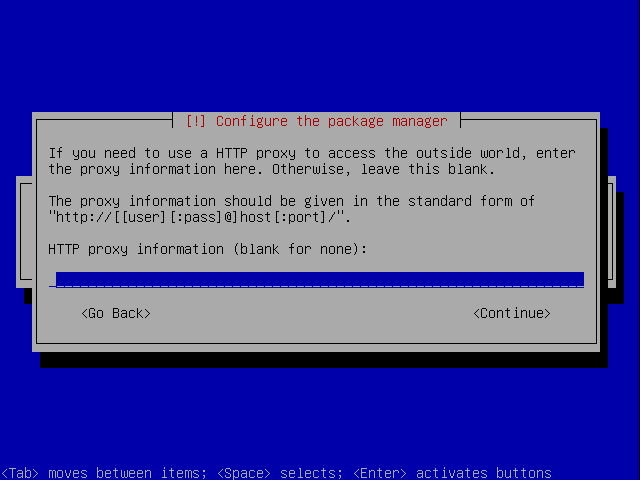
Next the package manager apt gets configured. Leave the HTTP proxy line empty unless you're using a proxy server to connect to the Internet:

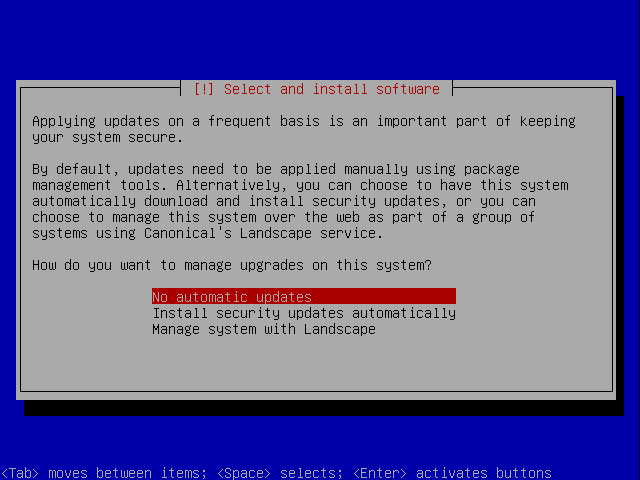
I'm a little bit old-fashioned and like to update my servers manually to have more control, therefore I select No automatic updates. Of course, it's up to you what you select here:
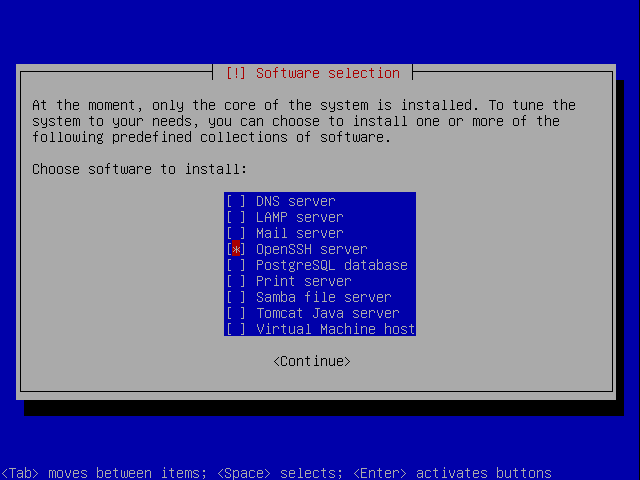
We need a DNS, mail, and LAMP server, but nevertheless I don't select any of them now because I like to have full control over what gets installed on my system. We will install the needed packages manually later on. The only item I select here is OpenSSH server so that I can immediately connect to the system with an SSH client such as PuTTY after the installation has finished:
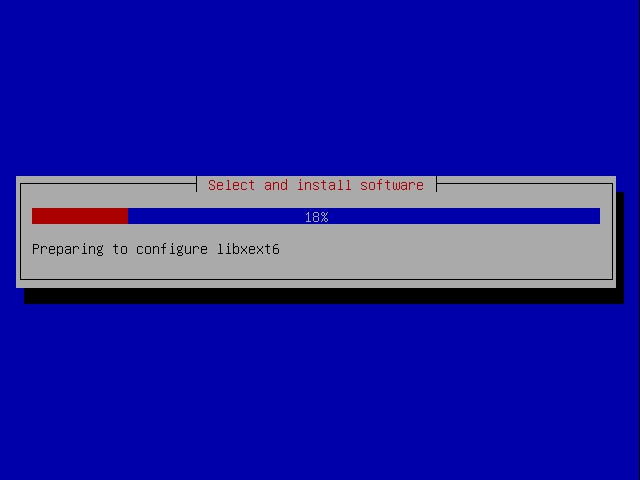
The installation continues:
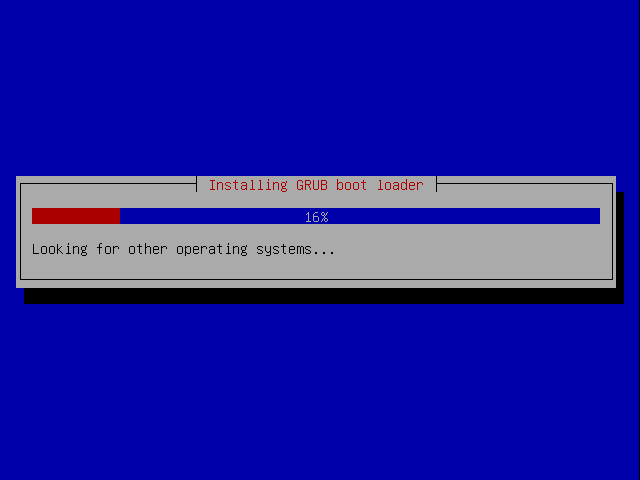
The GRUB boot loader gets installed:
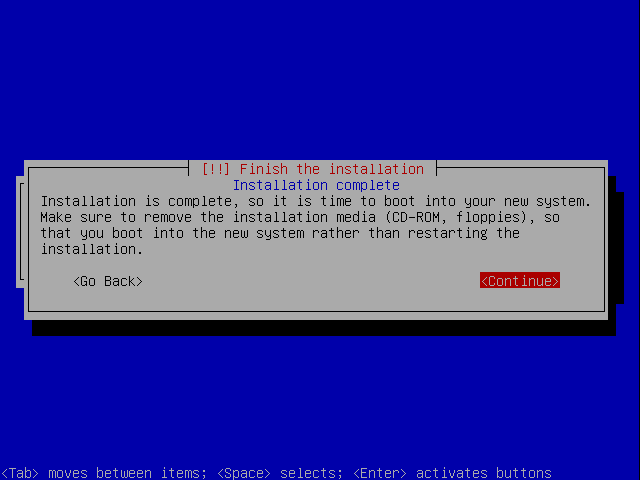
The base system installation is now finished. Remove the installation CD from the CD drive and hit Continue to reboot the system:
On to the next step...

