Privacy Center is a rogue program that is a clone of Privacy Components. This rogue is installed through the use of a Trojan that pretends to be video codec required to view an online movie. Once you download and install the codec, though, instead of letting you watch the movie it will instead install Privacy Center on to your computer without your permission. Privacy Center pretends to be an all-in-one privacy suite that has many built-in tools that cannot be used used unless you first purchase the program. These utilities consist of the following:
- Cookie guarder - This utility supposedly cleans cookies
from your computer.
- Secure channel - This utility supposedly allows you to
create a secure VPN to Privacy Center's servers so that you can surf the web
anonymously. Knowing that this software is installed by Malware, though, would
not let me trust any information that goes through their servers.
- Memory wizard - This utility supposedly optimizes your
computer's memory.
- Surf Protector - This utility supposedly protects your
computer from displaying private information on web sites.
- Registry Doctor - This utility supposedly cleans and repairs
your Windows Registry.
- System Monitor - This utility supposedly displays system information about your computer.


When Privacy Center is installed it will be configured to start on your computer automatically. Once running, it will scan your computer and display a variety of privacy risks and computer problems that will not be resolved until you purchase the program. It will also display security warnings from your Windows taskbar stating that your computer has security problems and that you should purchase the program to fix them. As the information Privacy Center displays is all false, we strongly suggest that you do not purchase this software. Instead you should use the free removal instructions below to remove this program and any associated malware.
Privacy Center Removal Options
Self Help Guide
If you are uncomfortable making changes to your computer or following these steps, do not worry! Instead you can get free one-on-one help by asking in the forums.
To remove Privacy Center, follow these steps:
- STEP 1: Print out instructions before we begin.
- STEP 2: Use Rkill to terminate suspicious programs.
- STEP 3: Use Malwarebytes AntiMalware to Scan for Malware and Unwanted Programs
- STEP 4: Use HitmanPro to scan your computer for badware
- STEP 5: Run Secunia PSI to find outdated and vulnerable programs.
This removal guide may appear overwhelming due to the amount of the steps and numerous programs that will be used. It was only written this way to provide clear, detailed, and easy to understand instructions that anyone can use to remove this infection for free. Before using this guide, we suggest that you read it once and download all necessary tools to your desktop. After doing so, please print this page as you may need to close your browser window or reboot your computer.
To terminate any programs that may interfere with the removal process we must first download the Rkill program. Rkill will search your computer for active malware infections and attempt to terminate them so that they wont interfere with the removal process. To do this, please download RKill to your desktop from the following link.

Rkill
When at the download page, click on the Download Now button labeled iExplore.exe. When you are prompted where to save it, please save it on your desktop.
Once it is downloaded, double-click on the iExplore.exe icon in order to automatically attempt to stop any processes associated with Privacy Center and other malware. Please be patient while the program looks for various malware programs and ends them. When it has finished, the black window will automatically close and a log file will open. Please review the log file and then close so you can continue with the next step. If you have problems running RKill, you can download the other renamed versions of RKill from the rkill download page. All of the files are renamed copies of RKill, which you can try instead. Please note that the download page will open in a new browser window or tab.
Do not reboot your computer after running RKill as the malware programs will start again.
Once downloaded, close all programs and Windows on your computer, including this one.
Double-click on the icon on your desktop named MBSetup-1878.1878-4.0.exe. This will start the installation of MBAM onto your computer.
When the installation begins, keep following the prompts in order to continue with the installation process. Do not make any changes to default settings and when the program has finished installing, a welcome screen will be displayed.
At this screen, click on the Get Started button where you will be prompted to buy and activate a license. To continue using it for free, click on the 'Maybe Later' option and then select 'Use Malwarebytes Free'.
It should be noted that the free version will scan for and remove malware, but not provide real-time protection from threats that occur when not performing a scan.
Finally, you will be shown a screen asking you to sign up for their newsletter. Just click on the 'Open Malwarebytes Free' option to start the program.
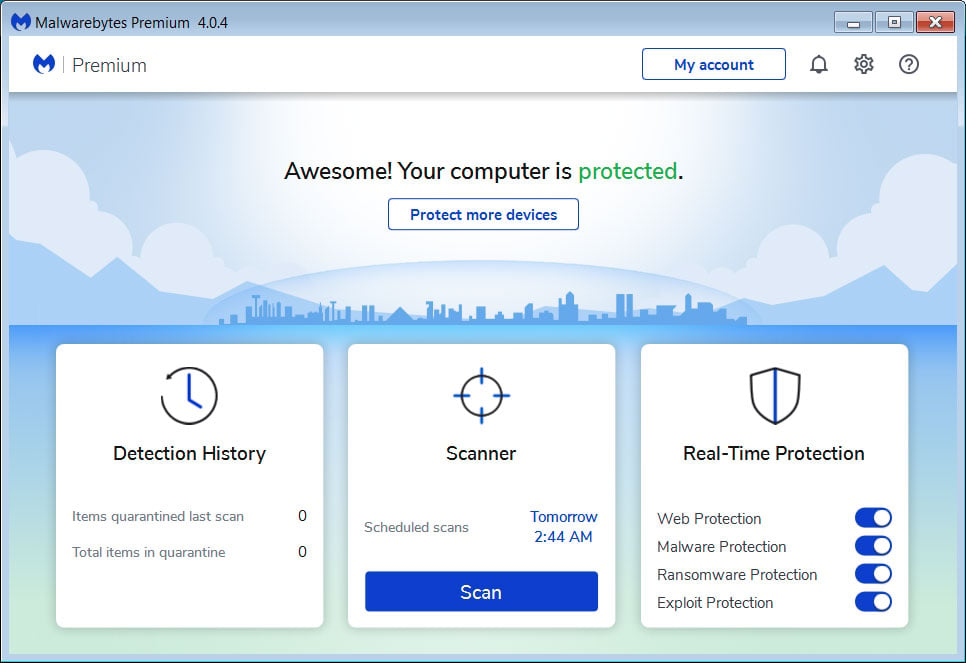
MBAM will now start and you will be at the main screen as shown below.
We now need to enable rootkit scanning to detect the largest amount of malware and unwanted programs that is possible with MalwareBytes. To do this, click on the Settings gear on the top left side of the screen and you will be brought to the general settings section.
Now click on the Security option at the top of the screen. You will now be shown the settings MalwareBytes will use when scanning your computer.
Scroll down until you see Scan option as shown below.
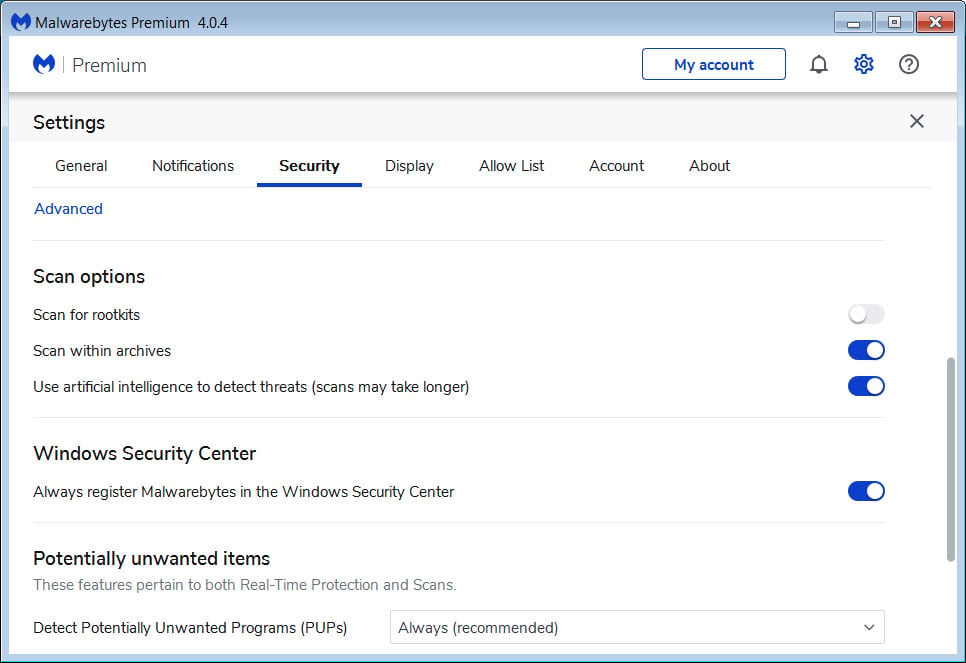
At this screen, please enable the Scan for rootkits setting by clicking on the toggle switch so it turns blue.
Now that you have enabled rootkit scanning, click on the X button to close the settings to get back to the main screen.
You should now click on the Scan button to begin scanning your computer for malware.
This process can take quite a while, so we suggest you do something else and periodically check on the status of the scan to see when it is finished.
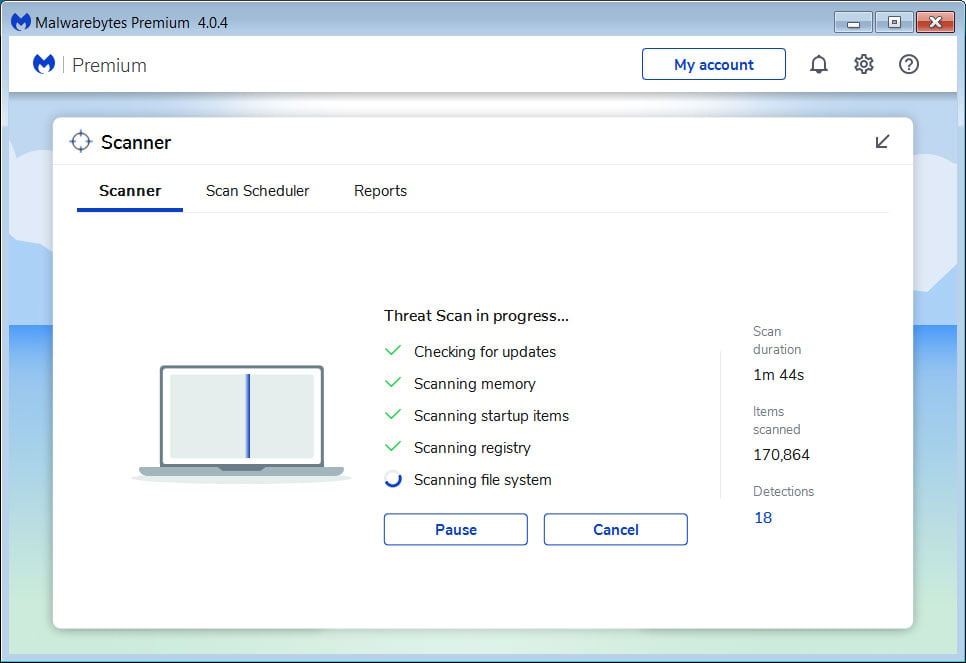
When MBAM is finished scanning it will display a screen that displays any malware, adware, or potentially unwanted programs that it has detected. Please note that our guide's scan results image may look different than the one you are shown in this version of Malwarebytes as it was created with an older version.
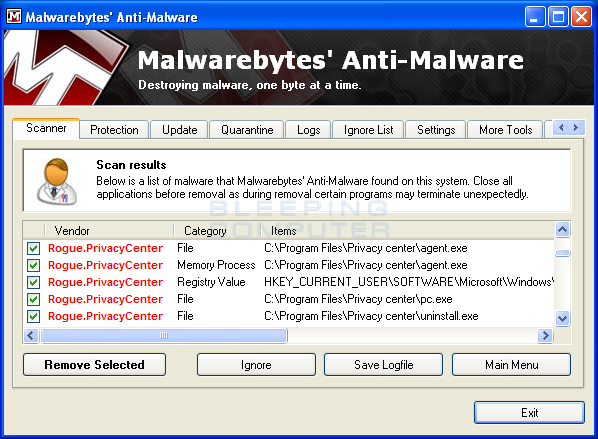
You should now click on the Quarantine button to remove all the selected items. MBAM will now delete all of the files and registry keys and add them to the program's quarantine.
When removing the files, MBAM may require a reboot in order to remove some of them. If it displays a message stating that it needs to reboot, please allow it to do so. Once your computer has rebooted, and you are logged in, please continue with the rest of the steps.
You can now exit the MBAM program.
Now you should download HitmanPro from the following location and save it to your desktop:

HitmanPro
When you visit the above page, please download the version that corresponds to the bit-type of the Windows version you are using.
Once downloaded, double-click on the file named HitmanPro.exe (for 32-bit versions of Windows) or HitmanPro_x64.exe (for 64-bit versions of Windows). When the program starts you will be presented with the start screen as shown below.
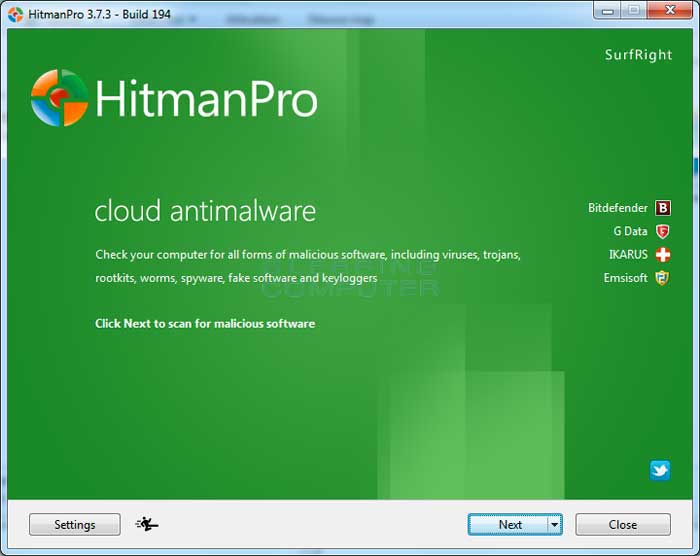
Now click on the Next button to continue with the scan process.
You will now be at the HitmanPro setup screen. If you would like to install the 30 day trial for HitmanPro, select the Yes, create a copy of HitmanPro so I can regularly scan this computer (recommended) option. Otherwise, if you just want to scan the computer this one time, please select the No, I only want to perform a one-time scan to check this computer option.

Once you have selected one of the options, please click on the Next button.
HitmanPro will now begin to scan your computer for infections, adware, and potentially unwanted programs. When it has finished it will display a list of all the items that Hitman has found as shown in the image below. Please note that the items found may be different than what is shown in the image.
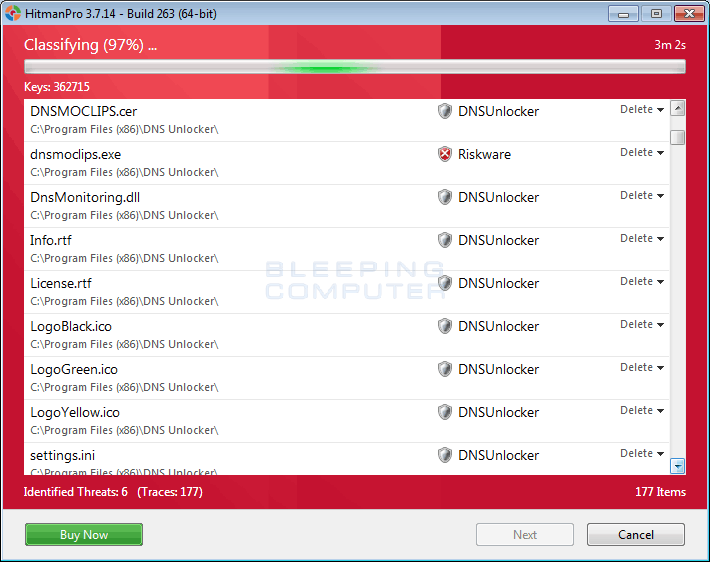
You should now click on the Next button to have HitmanPro remove the detected items. When it is done you will be shown a Removal Results screen that shows the status of the various programs that were removed. At this screen you should click on the Next button and then if prompted you should click on the Reboot button. If HitmanPro does not prompt you to reboot, please just click on the Close button.
Once your computer has has restarted or you pressed the Close button, you should now be at your Windows desktop.
As many malware and unwanted programs are installed through vulnerabilities found in out-dated and insecure programs, it is strongly suggested that you use Secunia PSI to scan for vulnerable programs on your computer. A tutorial on how to use Secunia PSI to scan for vulnerable programs can be found here:
How to detect vulnerable and out-dated programs using Secunia Personal Software Inspector
Your computer should now be free of the Privacy Center program. If your current security solution allowed this program on your computer, you may want to consider purchasing the full-featured version of Malwarebytes Anti-Malware to protect against these types of threats in the future.
If you are still having problems with your computer after completing these instructions, then please follow the steps outlined in the topic linked below:
Preparation Guide For Use Before Using Malware Removal Tools and Requesting Help
Are Your Protected?
While Malwarebytes Anti-Malware & HitmanPro will scan and clean a computer for free, the free versions do not offer real-time protection. If you want to be fully protected at all times then it is recommended that you purchase a premium version.
Malwarebytes Anti-Malware
Purchase the full-featured version of Malwarebytes Anti-Malware, which includes real-time protection, scheduled scanning, and website filtering, to protect yourself against these types of threats in the future!

HitmanPro
Purchase the full-featured version of HitmanPro, which includes discover viruses, trojans, rootkits, spyware and other malware on up-to-date and fully protected computers using cloud protection and behavioral detections, to protect yourself against these types of threats in the future!
Disclaimer: While we do earn a commission from the sale of the above products, rest assured we only recommend them due to their effectiveness.