 14 DAY TRIAL //
 It's time to get a new boot screen for your Windows XP. I am sure you are tired of the common Windows Logo displaying while your computer boots up. Wouldn't it be interesting to replace that screen with your favorite football team logo? Or showing your girlfriend's picture? That surely would impress her a lot!
As in many other situations, there are two ways to solve a problem: one for beginners (easy but limited in a way) and one for those who can really handle their PCs. Of course, the second one would be a little more complicated but this is how we learn, by doing difficult and complex operations.
For warm up, I will present you the first method for those who do not want to deal with the system files and other sensitive data. And as always, when no file or registry editing is included, we need a helping hand from a software application that will do the dirty job for us. In this case, the required application is Bootskin. And don't worry, it is freeware.
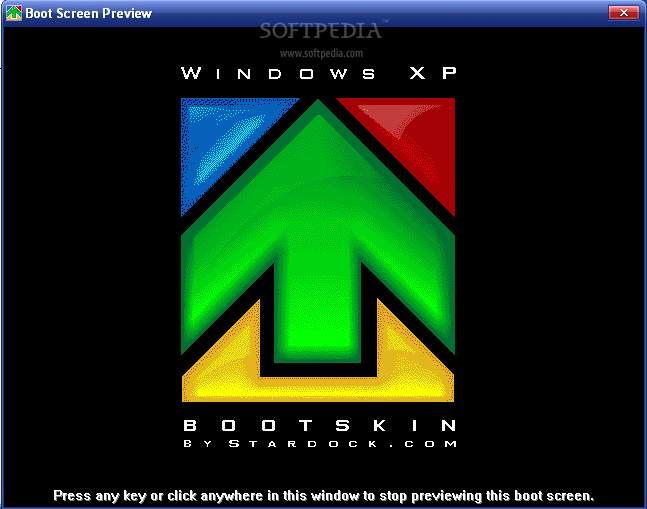
Using a simple GUI, the application permits the user to select Boot screen images that can replace the default Windows Boot Screen. Your task is to browse for the desired bootskin (more skins are available online or you can personally create new ones), preview it and if you decide it satisfies your tastes just click Apply. Bootskin will override the normal boot screen replacing it with the one selected by you. That's all. No additional settings, no complications.

The boot screen images are encapsulated in a system file: "ntoskrnl.exe" which needs to be edited and updated with a new bitmap that will be displayed as a boot screen. Before editing this file, we need to create the new boot image.
To do that, an image editor that is able to edit and save images as BMP with 16 colors palette is required. Make sure you do not save the file with 16 Bit color palette which is a higher standard. I know 16 colors are limitative, but we cannot do anything about this problem; it is a threshold set by Microsoft and we must respect it. Besides the 16 colors limit, the image must use these dimensions: 215x147 pixels.
Back to the system file that I told you about, you find it in Windows > System32 folder. For safety, before editing it, make a backup by changing its name. Name it ntoskrnl2.exe. To edit it we will use a software application that I mentioned in a previous article when I presented you the way of hacking the Windows Button. This application is Resource Hacker and you can download it from here.
Run the application and open the ntoskrnl.exe file. In the left panel, go to Bitmap > 5 and select 1033. Surprise! Here is the Windows Logo that you see every time you boot the OS. Right click on 1033 and select replace resource. Now select the bitmap you have created and the go to save as. Save the file in an easy accessible location because we will immediately need it.


Now, restart Windows and let it boot normally. The new boot screen should be visible while Windows is loading.