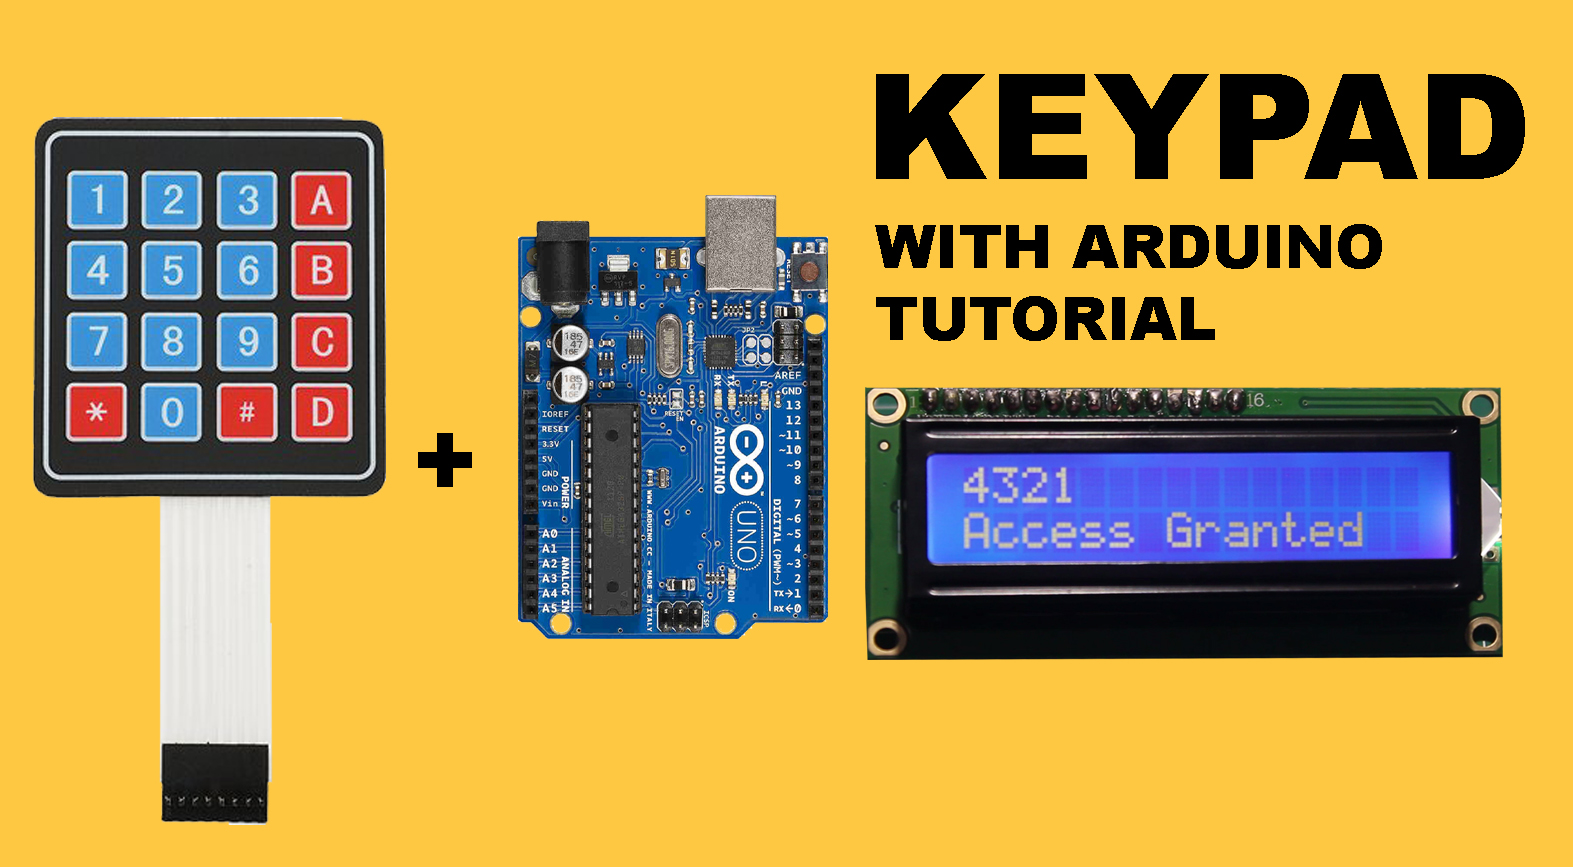
In this tutorial, we will learn about Keypad. I will explain how it works, how to use it with an Arduino, then display the key pressed on the LCD. After that, I will make a simple project to make password access with it.
Let’s start with how it works. This Keypad is actually just like a button but it has many of them. For example, 4×4 keypads mean it has 16 buttons. If we used a regular button, we will need 16 Arduino pins. And it is a lot of pins.
Inside Keypad
To simplify that, we use keypad, so this is the wiring diagram inside it.

So for example, if row 1 and column B is connected, it means that the key pressed is number 2, and if row 2 and column B is connected, it means number 5 is pressed, and again if row 4 and column D is connected then it means D is pressed.
Now in the microcontroller, we can give the scanning method at the rows, the rows will give HIGH state alternately, so we can determine if D is pressed when row 4 gives HIGH state and column D is read HIGH.
But now, we will use a library for this. So this will not so complicated and doesn’t have to think about the scanning method.
Let’s hook up the keypad to Arduino.
Arduino and Keypad Wiring Diagram

I will use pins 3 to 11 to connect it to Arduino.
The library we will use is called keypad. You can download the library from here.
Print the Values to Serial Monitor Code
After library installation is complete, now you can open an example sketch from the library. For example you can open the CustomKeypad file. This example will print the character you pressed on the serial monitor. If you just planning on this, you can just edit the layout and the pins here according to your keypad. So the code should be like below.
/* @file CustomKeypad.pde
  || @version 1.0
  || @author Alexander Brevig
  || @contact alexanderbrevig@gmail.com
  ||
  || @description
  || | Demonstrates changing the keypad size and key values.
  || #
*/
#include <Keypad.h>

const byte ROWS = 4; //four rows
const byte COLS = 4; //four columns
//define the cymbols on the buttons of the keypads
char hexaKeys[ROWS][COLS] = {
  {'1', '2', '3', 'A'},
  {'4', '5', '6', 'B'},
  {'7', '8', '9', 'C'},
  {'*', '0', '#', 'D'}
};
byte rowPins[ROWS] = {10, 9, 8, 7}; //connect to the row pinouts of the keypad
byte colPins[COLS] = {6, 5, 4, 3}; //connect to the column pinouts of the keypad

//initialize an instance of class NewKeypad
Keypad customKeypad = Keypad( makeKeymap(hexaKeys), rowPins, colPins, ROWS, COLS);

void setup() {
  Serial.begin(9600);
}

void loop() {
  char customKey = customKeypad.getKey();

  if (customKey) {
    Serial.println(customKey);
  }
}
Just upload this sketch, open the serial monitor, and now every key pressed should be printed on the serial monitor. So far, we already know how to detect the key pressed. You can use this to tell the Arduino to do something, for example, if the key pressed is A then turn ON an LED or anything you want.

But since I want to display the characters on LCD then I need to add an I2C LCD.
Adding LCD to wiring diagram

Arduino With Keypad and LCD Code
And modify this sketch to become like this. The I2C LCD sometimes has a different I2C address. If you need a detailed tutorial on this. You can find it here.
/*Keypad example
    by miliohm.com */

#include <Keypad.h>
#include <Wire.h>
#include <LiquidCrystal_I2C.h>

LiquidCrystal_I2C lcd(0x27, 16, 2); // set the LCD address to 0x27 for a 16 chars and 2 line display

String pad;
const byte numRows = 4;
const byte numCols = 4;

char keymap[numRows][numCols] =
{
  {'1', '2', '3', 'A'},
  {'4', '5', '6', 'B'},
  {'7', '8', '9', 'C'},
  {'*', '0', '#', 'D'}
};
//------------------------------------------------------------
byte rowPins[numRows] = {10,9, 8, 7};
byte colPins[numCols] = {6, 5, 4, 3};

Keypad myKeypad = Keypad(makeKeymap(keymap), rowPins, colPins, numRows, numCols); //mapping keypad

void setup() {
  lcd.init();
  lcd.backlight();
  lcd.setCursor(0, 0);
  lcd.print("Keypad");
  lcd.setCursor(0, 1);
  lcd.print("Test");
  delay(1000);
  lcd.clear();
}

void loop() {
  // put your main code here, to run repeatedly:
  readKeypad();
  lcd.setCursor(0, 0);
  lcd.print(pad);
  delay(100);
}

void readKeypad() {
  char keypressed = myKeypad.getKey(); //deteksi penekanan keypad
  String konv = String(keypressed);
  pad += konv;
}
Upload the code and now let’s try. Now you should see the key that I pressed is displayed on LCD. So we have successfully read the keypad and print every character on the LCD.

Make Keypad as an Password Input
Now I will try to make some kind of password and we should input the password using the keypad. I will set the password to “4321”. So here’s the code.
/* Keypad for password test
   by miliohm.com */


#include <Keypad.h>
#include <Wire.h>
#include <LiquidCrystal_I2C.h>

LiquidCrystal_I2C lcd(0x27, 16, 2); // set the LCD address to 0x27 for a 16 chars and 2 line display

String pad;
const byte numRows = 4;
const byte numCols = 4;
String password = "4321";
char keypressed;

char keymap[numRows][numCols] =
{
  {'1', '2', '3', 'A'},
  {'4', '5', '6', 'B'},
  {'7', '8', '9', 'C'},
  {'*', '0', '#', 'D'}
};
//------------------------------------------------------------
byte rowPins[numRows] = {10, 9, 8, 7};
byte colPins[numCols] = {6, 5, 4, 3};

Keypad myKeypad = Keypad(makeKeymap(keymap), rowPins, colPins, numRows, numCols); //mapping keypad

void setup() {
  lcd.init();
  lcd.backlight();
  lcd.setCursor(0, 0);
  lcd.print("Keypad");
  lcd.setCursor(0, 1);
  lcd.print("Test");
  delay(1000);
  lcd.clear();
}

void loop() {
  // put your main code here, to run repeatedly:
  readKeypad();
  if (keypressed == '#') {
    if (pad == password) {
      lcd.setCursor(0, 1);
      lcd.print("Access Granted");
    } else {
      lcd.setCursor(0, 1);
      lcd.print("Access Denied");
    }
  } if (keypressed == '*') {
    pad = "";
    lcd.clear();
  }
  lcd.setCursor(0, 0);
  lcd.print(pad);
  delay(100);
}

void readKeypad() {
  keypressed = myKeypad.getKey(); //deteksi penekanan keypad
  if (keypressed != '#') {
    String konv = String(keypressed);
    pad += konv;
  }
}
And now if you put the right code the LCD will print “Access Granted”, otherwise it will print “Access Denied”.

And that’s the tutorial If you need more detail in the video. Watch my complete video below.

I could not get your library to work?????
I could not get your library to work????? this is what it said
Arduino: 1.8.16 (Windows 10), Board: “Arduino Uno”
The library “Keypad-3.1.1 (1)” cannot be used.
Library names must contain only basic letters and numbers.
(ASCII only and no spaces, and it cannot start with a number)
That caused by folder name, you can’t use (1) on the folder name. Try rename to only Keypad
Thanks for the sketch! It is really helpful to learn more than doing LED with Arduino!
Be AWARE that website has 3x error corrected below for keypad!
byte rowPins[ROWS] = {3,4,5,6}; //connect to the row pinouts of the keypad
byte colPins[COLS] = {7,8,9,10}; //connect to the column pinouts of the keypad
Test Keypad on Tinkercad (free access online) to validate sketch, always! <>